 Miya Bholat
Sep 11, 2026
5 Plumbing Service Van Checks Before Emergency Calls
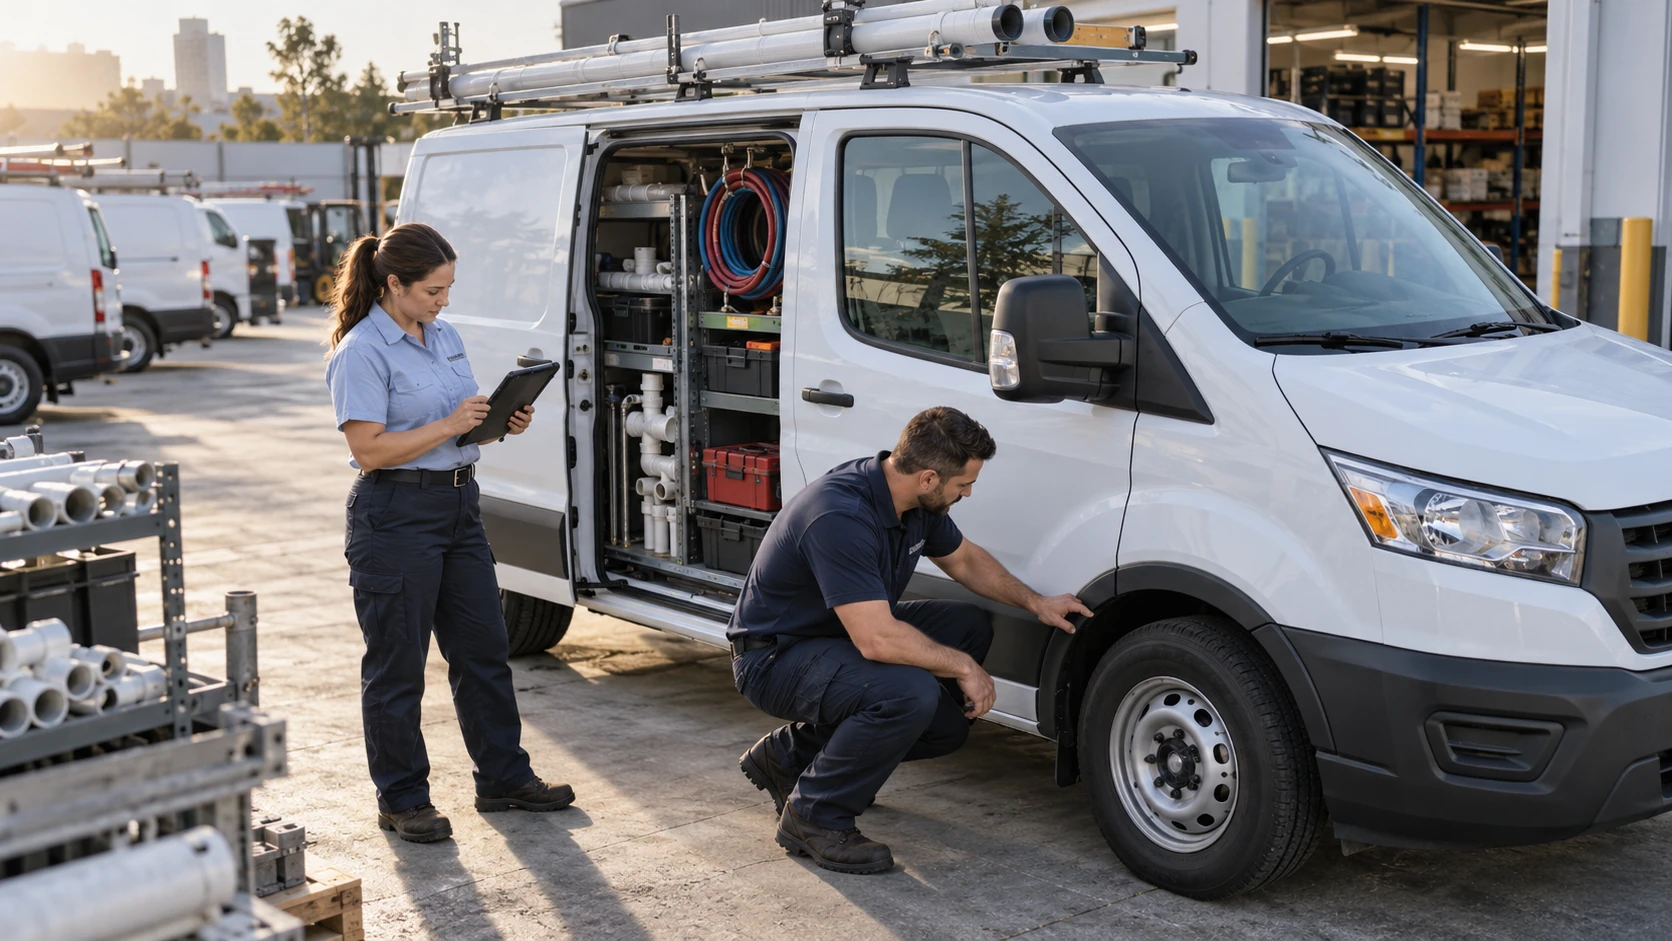
A plumbing service van needs a fast pre dispatch check before an emergency call because a roadside failure can leave a technician stranded at a customer's flooded home or cold building, erase the higher value of the emergency job, and create a service recovery problem your team must solve in real time.
For a small plumbing fleet, this 60 second decision is a practical part of plumbing fleet management. It gives dispatchers and service managers a simple readiness signal before they promise an arrival time to a customer facing an urgent problem.
It also supports the wider maintenance process. When failed checks are recorded and reviewed, your team can use fleet maintenance software to turn recurring issues into scheduled repairs instead of discovering them during the next emergency call.
Key Takeaways
- A mid call breakdown costs far more than a tow. You can lose emergency revenue, technician time, customer trust, and the next jobs on the schedule.
- Five quick checks protect the dispatch decision. Fuel, tires, warning lights, mounted equipment, and job ready inventory reveal whether a van can complete the call.
- A go or no go rule removes guesswork. Dispatchers need clear conditions that hold a van, trigger a repair, or allow a fast equipment swap.
- Digital proof protects the business. A recorded pass or fail creates an audit trail if a delay, claim, or customer dispute follows.
- Daily triage supports fewer future failures. Repeated issues should feed preventive maintenance decisions instead of becoming familiar emergency call risks.
Why a Breakdown Mid Call Costs More Than the Tow Bill
An emergency plumbing call often starts with a customer who cannot wait. A failed water heater, burst pipe, sewer backup, or loss of heat needs a capable van, the right parts, and a technician who can stay on site until the job is stable.
When the van fails, the cost stack grows quickly:
- Lost emergency rate revenue from the original call
- Technician time spent waiting for help instead of fixing the problem
- A second vehicle pulled from another customer or from the next scheduled job
- A customer left in the middle of a water, drainage, or heat crisis
- A reputation issue that can turn into a refund, complaint, or lost repeat business
A 2026 fleet benchmark report found a median work order start time of 31 minutes but an average of 6.7 days. That gap shows how a few delayed repairs can create long periods of downtime. The same report found only 9.7 percent of fleets consider consistent on time maintenance a true strength.
Plumbing fleets are not the only teams that feel this pressure. Many industries that rely on fleet vehicles face the same operational risk when an essential vehicle is released without a clear readiness decision.
The 5 Check Pre Dispatch Triage for Plumbing Service Vans
Run these checks before releasing a van to an emergency call. The goal is not a full maintenance inspection. It is to identify a condition that could stop the van or prevent the technician from completing the job.
1. Fuel, DEF, and Fluid Levels
Check fuel range, diesel exhaust fluid where applicable, engine oil, coolant, and washer fluid. An emergency call can run long, lead to a second location, or require idling while equipment operates.
A fail means the van cannot safely complete the expected route and work window. Low fuel may be a refill and go decision. A low coolant level, visible leak, or overheating concern is a no go.
2. Tires: Pressure, Tread, and Load Rating
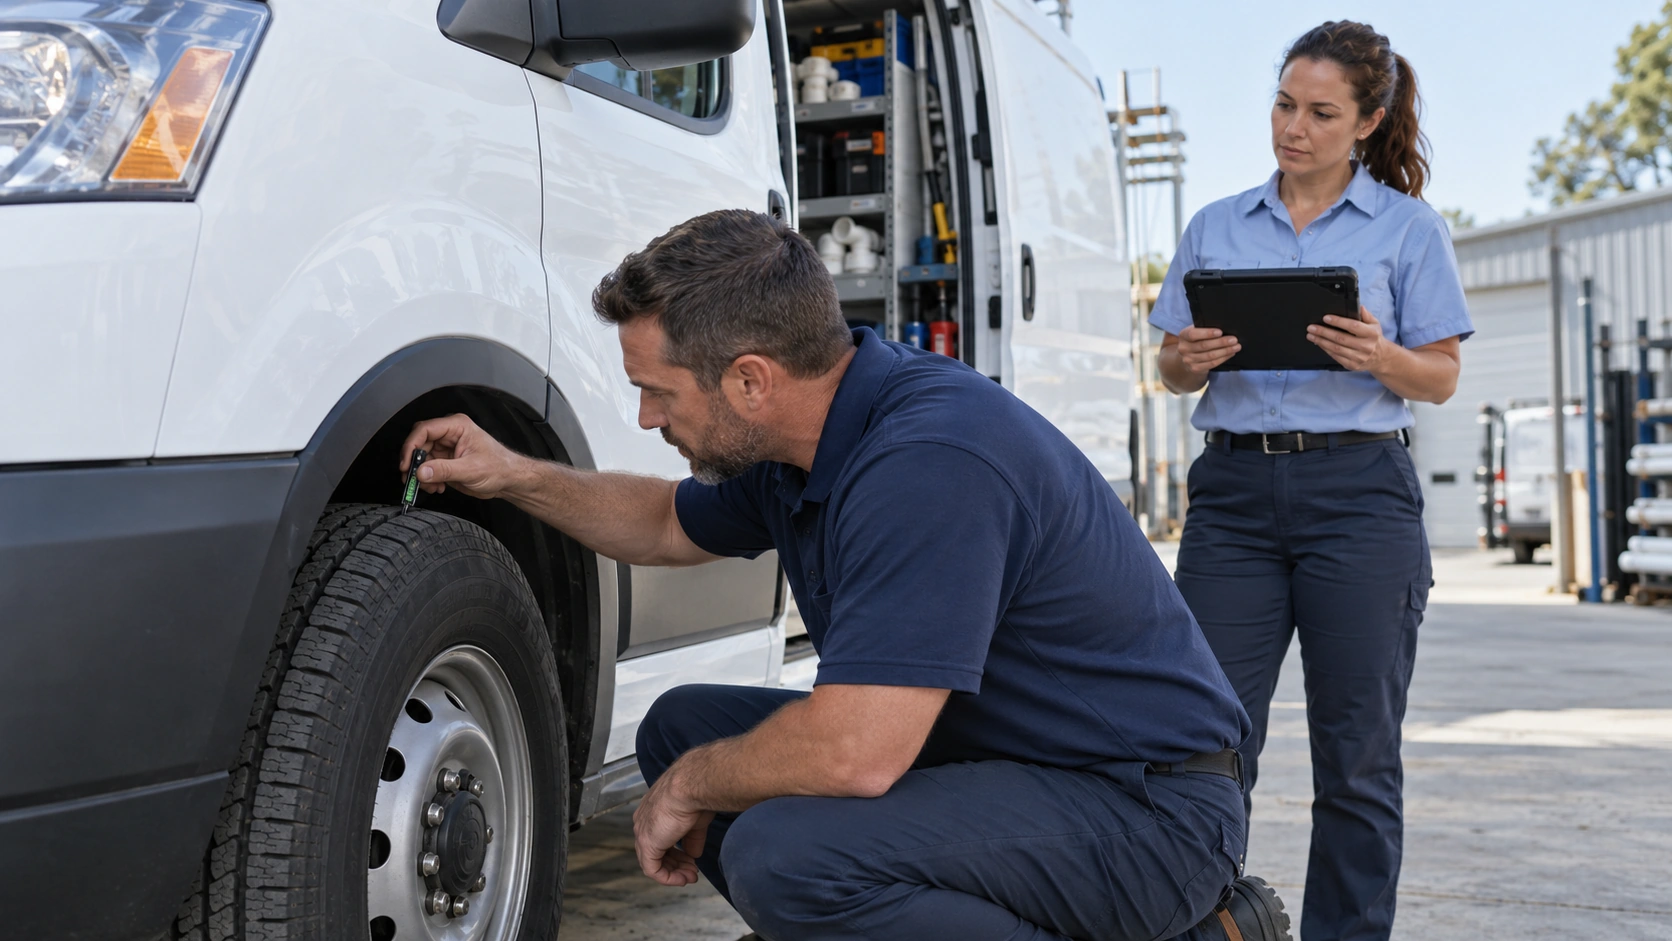
Check for low pressure, obvious damage, exposed cords, uneven wear, and whether the tire can safely carry a loaded plumbing van. Shelving, water tanks, jetters, pipe, and fittings add real weight.
A tire problem during an emergency call can turn an urgent customer situation into a roadside event. Any damaged tire, unsafe pressure, or load concern should hold the van until corrected.
3. Dashboard Warning Lights and Stored Diagnostic Codes
Ask the technician to confirm whether any warning light is active and whether a known diagnostic code is unresolved. A light that appeared on a routine trip may become a breakdown after stop and go driving, idling, or a heavier equipment load.
The following conditions need immediate attention:
- Red warning lights
- Engine temperature warnings
- Oil pressure warnings
- Brake warnings
- A recurring code tied to reduced power or starting trouble
A warning that affects braking, engine protection, or power delivery is a no go. It belongs in a repair decision process for fleet issues, not in an emergency dispatch queue.
4. Water Tank, Jetter, and Equipment Mount Security
Inspect tank straps, shelving latches, jetter connections, hose reels, ladders, and other mounted equipment. A hard stop, sharp turn, or uneven driveway can turn a loose load into a safety event.
A fail means any item can shift, leak, detach, or block access to the tools needed on site. Secure it before dispatching, or move the call to a properly equipped van.
5. Parts and Tool Inventory Matched to Likely Job Types
Confirm the van carries the likely repair parts, fittings, tools, drain equipment, and personal protective equipment for the type of emergency being assigned. A mechanically sound van still fails the customer if the technician arrives without what the repair needs.
Use parts inventory management software to confirm stock before the van leaves. A missing fitting or tool may be a swap and go decision if another van or yard stock can cover it quickly.
A Go or No Go Framework for Dispatchers
Dispatchers should make one clear decision from the reported condition. The table below turns the check into an action.
| Check | Pass Looks Like | Fail Means | Action |
|---|---|---|---|
| Fuel, DEF, and fluids | Enough range and normal fluid condition | Low fuel, leak, overheating concern, or critical fluid issue | Refill and go, or hold for mechanical review |
| Tires | Safe pressure, sound tread, no visible damage | Damage, unsafe pressure, exposed cords, or overload concern | Hold van until corrected |
| Warning lights and codes | No critical warning or unresolved power issue | Brake, oil, temperature, or reduced power concern | Hold van and create a repair record |
| Mounted equipment | Tanks, jetters, hoses, and shelves secure | Loose, leaking, or unsafe equipment | Secure before release or swap vans |
| Parts and tools | Required equipment available for likely call | Critical part or tool missing | Swap stock, reroute, or assign another van |
A single tire or dashboard code failure should hold the van. A parts failure may allow a fast swap and keep the call moving. If a mechanical failure needs repair, fleet maintenance work order software can turn the failed check into an assigned task instead of a note that disappears after the shift.
Building a Checklist Technicians Will Actually Complete
The best checklist is short, mobile friendly, and visible to dispatch before an emergency assignment is accepted. Paper forms are easy to skip under time pressure, which is exactly when emergency dispatch happens.
- The technician runs the five checks at shift start or before leaving the yard.
- The technician records pass or fail digitally and attaches photos for any failed item.
- The dispatcher sees the current status before assigning the emergency call.
- A failed item creates a work order and alerts the person responsible for repair approval.
- The van is cleared, stocked, repaired, or swapped based on the go or no go table.
A digital vehicle inspection app gives the team one place to capture this decision. Your checklist can also borrow the structure of a proven fleet vehicle inspection checklist while staying focused on emergency call readiness.
What Happens After a Failed Check: Documentation and Liability
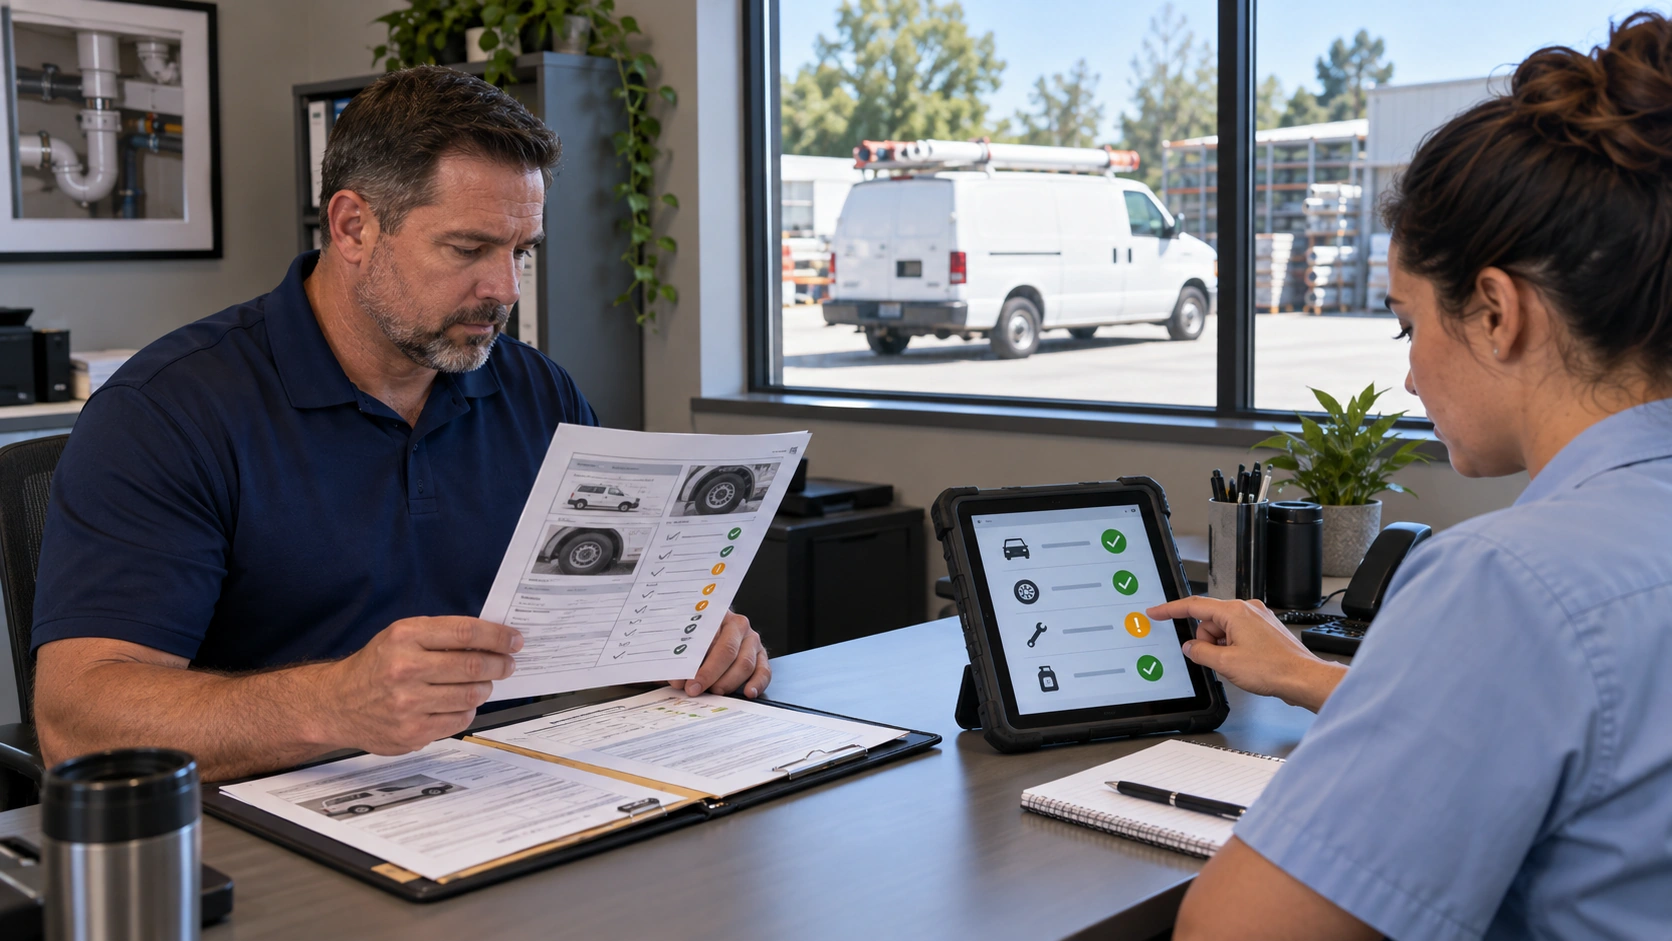
A documented pre dispatch record matters even when the van completes the call. If a breakdown, missed appointment, equipment incident, or customer complaint follows, you can show what the technician saw, what was reported, and how the dispatch decision was made.
Keep these records together:
- Date, time, technician, and assigned van
- Pass or fail result for each check
- Photos and notes for any defect
- Dispatch decision and any vehicle swap
- Repair work order and completion record
A pre trip and post trip inspection record documents the broader vehicle condition. The emergency triage adds the assignment specific proof that the van was checked before a high consequence call.
For claims involving driving conditions, property damage, or disputed events, dual facing dash camera records for plumbing fleets can add useful context. Keep the inspection result, repair history, and technician notes connected through vehicle service history records so the team can identify recurring defects instead of treating each incident as isolated.
From Reactive Fixes to Fewer Emergency Breakdowns
Daily triage should not replace preventive maintenance. It should reveal patterns that deserve scheduled attention. If two vans repeatedly show low tire pressure, mounting problems, or warning codes, the problem is no longer a one off dispatch issue.
A 2026 fleet benchmark report found that vehicles over 10 years old represented 12.1 percent of miles but 33.5 percent of service spend. Their cost reached $1.10 per mile compared with $0.20 per mile for newer vehicles. Use recurring pre dispatch failures to decide where preventive maintenance schedules need tightening and where replacement planning may be justified.
A 2026 fleet technology trends report also found that 55 percent of field service management users reported better operational efficiency. It reported that 31 percent of GPS tracking users found it highly beneficial for daily efficiency, while 21 percent of asset tracking users found it highly beneficial for reducing downtime and replacement costs.
Compare results by van, technician, job type, and shift with fleet performance benchmarks by job type. Seasonal service businesses face similar pressure when demand spikes, as shown by HVAC fleets during peak season.
Frequently Asked Questions
-
What should make a plumbing service van a no go for an emergency call?
A van should not be dispatched if it has a tire safety issue, brake or engine warning light, overheating concern, fluid leak, loose mounted equipment, or a fault that could cause reduced power or a roadside breakdown. These conditions can prevent the technician from reaching the customer or completing the repair safely. -
What should a dispatcher do if the assigned plumbing van fails a check?
First, determine whether the issue can be corrected immediately, such as adding fuel or securing equipment. If it cannot, assign a stocked backup van, transfer the needed parts and tools, or send the nearest qualified technician who can complete the specific emergency job. -
How often should plumbing service vans be checked for emergency readiness?
Run the short readiness check at the start of every shift and again before an emergency call when the van has been parked, reassigned, heavily loaded, or used by another technician. The second check should take about 60 seconds. -
What parts and tools should always stay on a plumbing emergency van?
Keep the items your team uses most often for urgent leaks, drain issues, water heater problems, shutoff repairs, and temporary stabilization. The exact stock list should reflect your common job types, local code requirements, and the equipment that each van can safely carry. -
Who has the final say on whether a service van can be dispatched?
The technician should report the actual condition of the van, while the dispatcher or service manager makes the operational go or no go decision using a defined rule. Any safety critical mechanical issue should override schedule pressure and hold the van until it is cleared.